
Did you see that Denyse Schmidt is releasing a version of her single girl quilt pattern that include improv piecing? It's called the
Freewheeling Single Girl and you can pre-order it on her website.
I’m on the staff of
Sewtopia (a retreat for sewing and quilting) this year and I’m going to be Denyse’s assistant at the April event in Atlanta. Due to this awesome opportunity, I had the
Freewheeling Single Girl pattern a few weeks early and I took it with me on a my guild’s winter retreat.
Funny story, I own the original version of this pattern and had long ago pulled out a fabric stack to make the quilt.
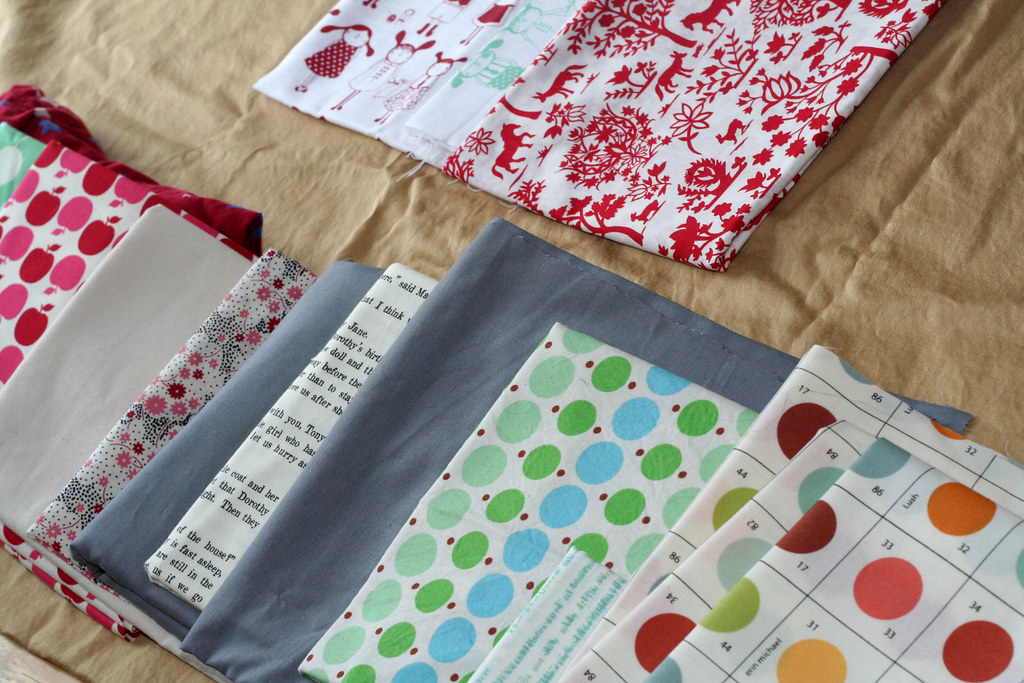
Fabric pull from 2009.
When I knew the new pattern was on its way, I pulled out my old fabric stack and played with it a bit. I went through my stash and scraps and made some additions and subtractions to the prints for the rings. In addition, I purchased some solid yardage for the background: Gold from Michael Miller Cotton Couture. The background color had always been gold in my head, and I had purchased a gold bedsheet a while back to cut up for yardage, but I was concerned that the thread count was a bit low. The background contains a lot of curves that are cut through the bias, so I wanted a nice tight fabric.

The little bin that contained my old fabric pull also contained some of my templates from the original version of this quilt pattern. I kept them with the rest of the project when packing for the retreat, thinking that I may want to look at them. I also included extra copies of the paper template for the ring sections as I know some quilters had hacked the original pattern by paper-piecing the sections.
Once at the retreat, while talking about the single girl quilt with my guildmate Amanda, I realized that it would be a fun experiment to do at least one ring in each of the methods:
--The original where each cut of fabric has a template
--The paper-pieceing hack of the original
--The new method laid out in “Free-wheeling Single Girl”
I started with the paper-piecing hack. What I did was use a ring section from “free-wheelin” and sew fabric to it. I did not mark any sub-sections within the template. Here’s the ring:

A few notes on this…
(1) I think the spacing and angles are a bit too tight and odd. If I continued with this method, I’d keep my eye on that. I suspect it would easily resolve itself.
(2) There’s are obvious problem with the way the 4 sections went together: you can see the joints very obviously because they don't line up correctly. Now, this is probably fixable, though it would take a bit of work. I opted NOT to fix it as I think it will be informative for the students at Sewtopia to see this mistake. Where did the mistake happen? It happened
when I squared up the four blocks that make each ring. You have to square them up, its in the pattern, but there’s also a note about doing it carefully so that your sections will meet up nicely. I blew right past that note. I did much better on the later rings. Though I do think I still need to figure out a better way to go it consistently, because if you noticed that the rings are slightly different sizes in the overall image, that's because they way I was working wasn't consistent enough.

Next up I made this ring (above) using all the individual templates from the original pattern version. I found the process time-consuming, but meditative and enjoyable. Please note: I Xeroxed my templates onto overhead projector plastic. This made it very easy to get that perfect fussy cut. That’s probably the biggest bonus of this method: the ability to fussy cut with precision.

Third, I did the free-wheelin’ rings using the method Denyse describes in the new pattern version. These went the fastest and were much easier to do well than I thought they would be. I can see why Denyse reissued the pattern with this variation. I think people are going to be really happy with the method when they give it a try.

My fourth ring includes a section from each method, plus a ring section that is a single cut of fabric. I love that single cut! I can see a whole quilt made from these, with the only downside being that cutting the arc from a single cut of fabric leaves a pretty odd scrap. Also, if you do this, pay close attention to the directionality of the fabric within the ring in relation to how it will be placed in the quilt.
I finished my quilt top at four rings and added a big border of gold around them.

The pattern calls for repeated blocks throughout the top, as in the following image from the pattern....

Image from the pattern by Denyse Schmidt
Overall, I had a very fun time putting this quilt together and think it will make a great class at
Sewtopia. I think the biggest thing to watch out for is the method in squaring up the blocks. Think through it carefully and do it the same way each time so that you don't end up with blocks with obvious joins, rings that are different sizes, or a quilt that won't lay flat.
And, a note about fabric choices: I really enjoyed having a big selection of fabrics to cut from to make my rings. I had about 40 prints in teal/white/red/black/green/gold and a variety of brightnesses. If you make this on a retreat, bring a big selection of prints from your chosen palette!
