
Shibori Itajime Quilt
My design wall got a huge dose of awesome slapped up there today!
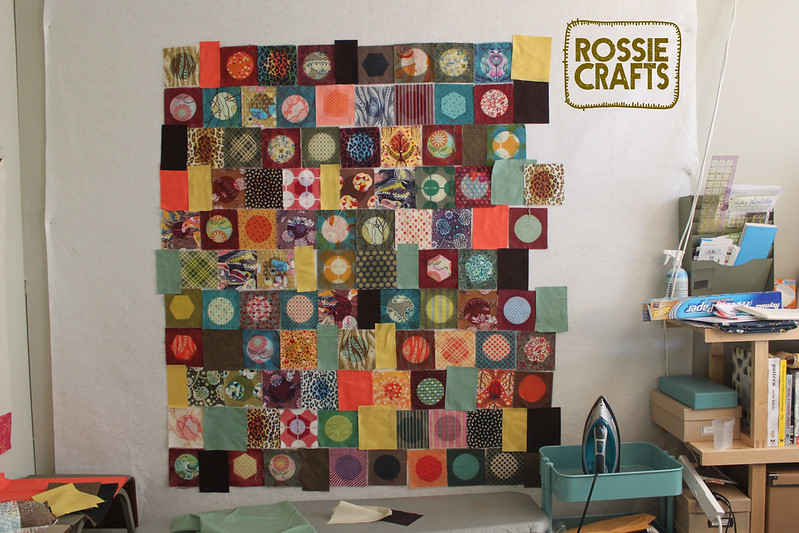
Fun, right?
These will all be sewn together to make a quilt for my cousin Kelly, who got married in October On the big day, I gave the couple a card with a sweet note and a post card for them to send back to me. The post card asks about what they might like. (I've done this before, you can see the results in this old post). When Kelly's card came back, it said:
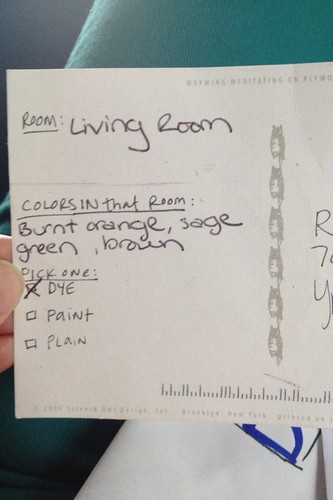
I decided to make a throw-sized quilt for Kelly's brown, sage, and burnt orange living room.
When I saw them on sale, I snatched up some charm packs (in case you are wondering, it's Field Study 1 by Anna Maria Horner, Birds and the Bees from Tula Pink, and Denyse Schmidt's Chicopee.) The colors in these lines play so nicely together and I figure they will look good in Kelly's home.
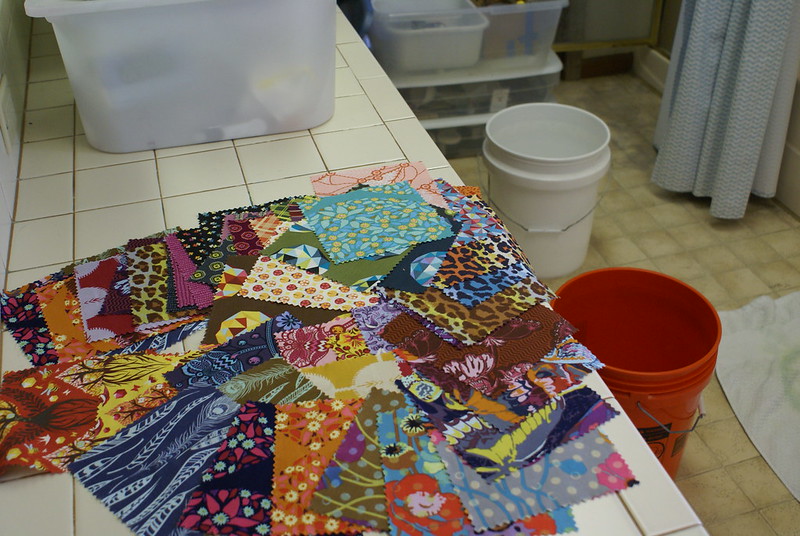
Once I had my fabric, I got down to dyeing and bleaching!
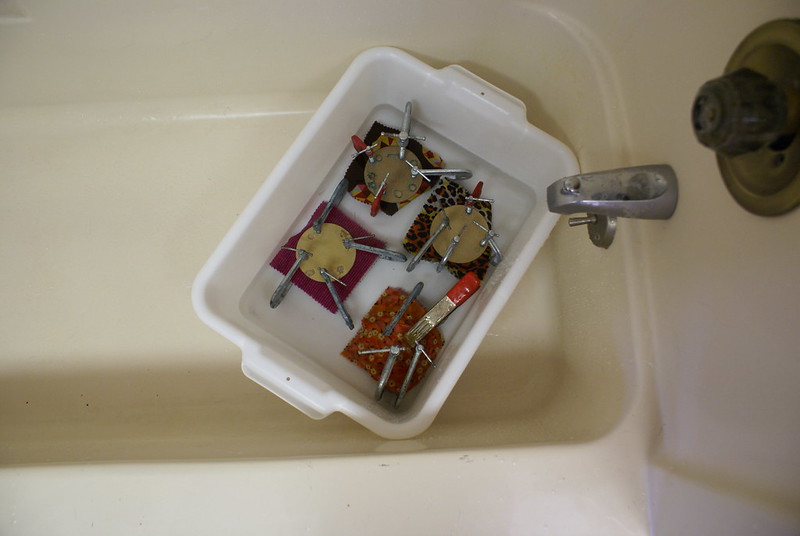
This is a process called shibori itajime.
So cool, right?
Its an ancient process that I first saw on Malka Dubrawsky's blog and then learned some of the specifics from an article about her in Quilting Arts (December/January 2009).
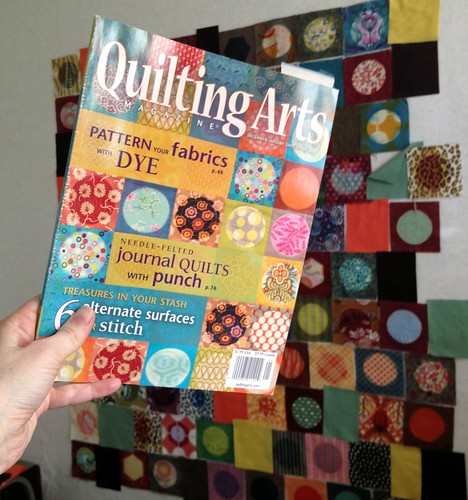
As you can see, I've gone straight down the path that Malka laid out for me in her cover...circles in squares is pretty hard to beat!
Of course, I did make some changes. I've thrown in some solids and offset the squares.
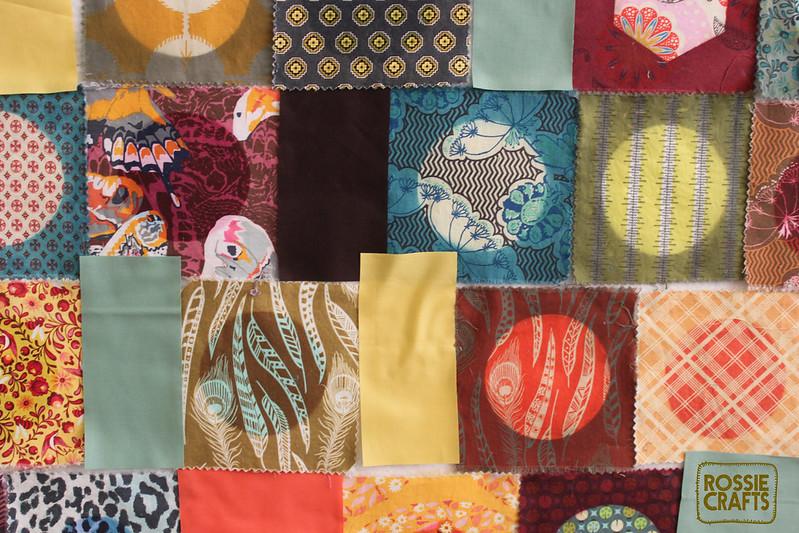
Also, some of those circles aren't circles, they are hexagons!I
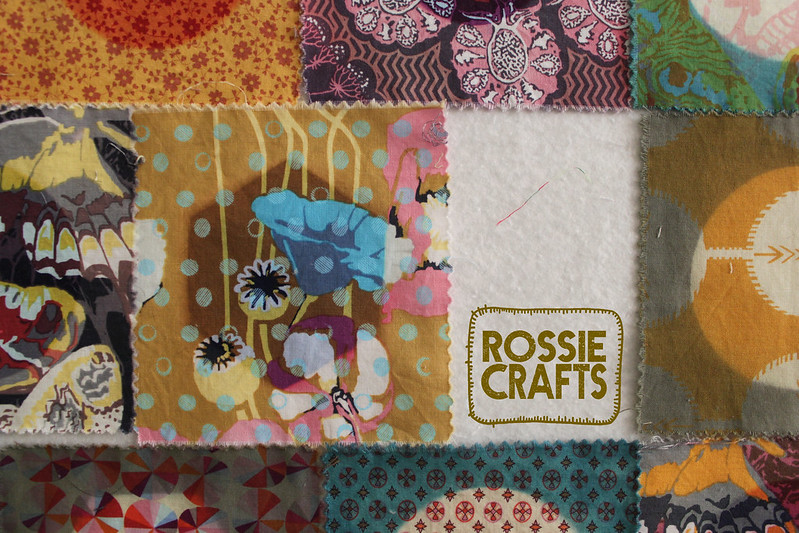
The hexagons are a new shape I'm selling in my shop.
I include complete instructions with every order of my plexiglass shapes. But it's pretty simple....
Step 1: Clamp
Step 2: Dye with fiber reactive dye (like these)
(you also need table salt and soda ash)
Step 3: Rinse
As an alternative you can...
Step 1: Clamp
Step 2: Bleach
Step 3: Stop the bleach. (with Anti-Chlor or Bleach Stop)
Step 4: Rinse
It's magic of the best kind.
It's fun to see what gets a strong result and what doesn't.
In this picture, I've sorted my unaltered fabrics so that the ones I plan to bleach are on the left and the ones I plan to dye on the right. Basically, I'm bleaching the dark ones and dyeing the light ones.
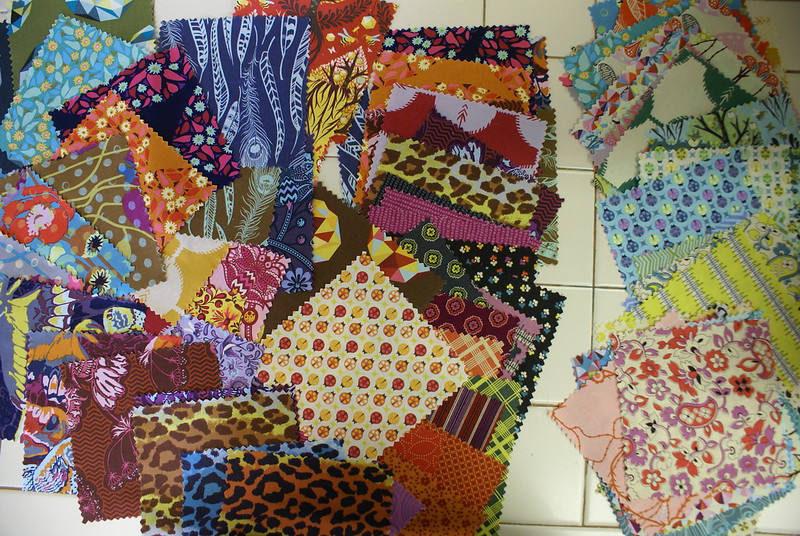
The bleach will pull a lot of color out of some fabric and hardly any out of others. In my experience, purple and blue tend not to bleach as easily, so for fabrics of medium value, I tend to bleach the red/browns and dye the blue/purples.
Dye is fun, too, as it can completely change the appearance of a familiar print as it layers a new color on top (I used three colors here: a dark gray, a berry red, and a teal blue).
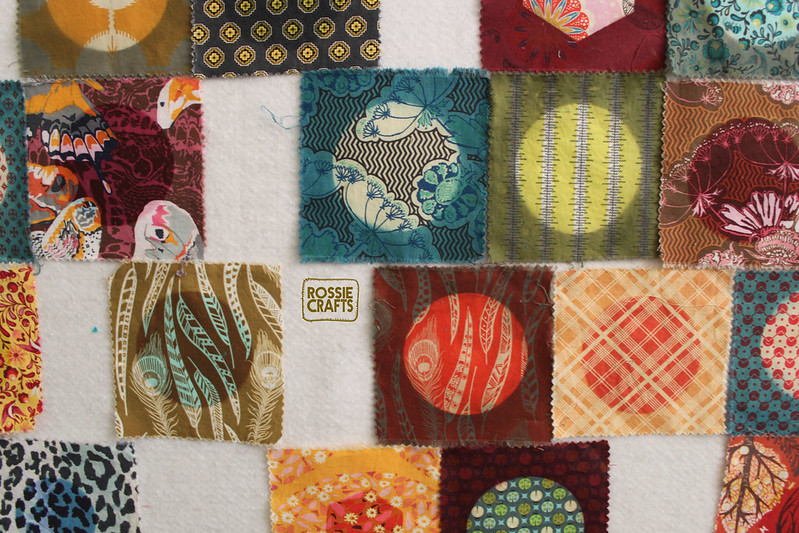
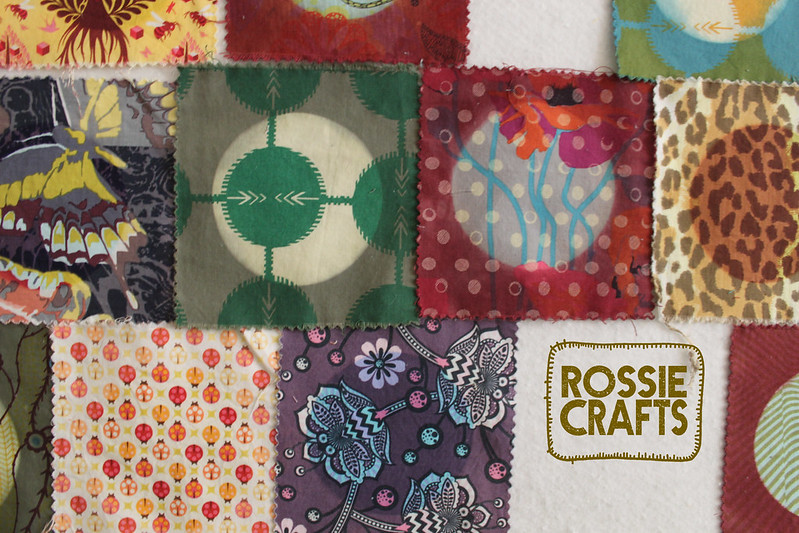
I could stare at these for hours.
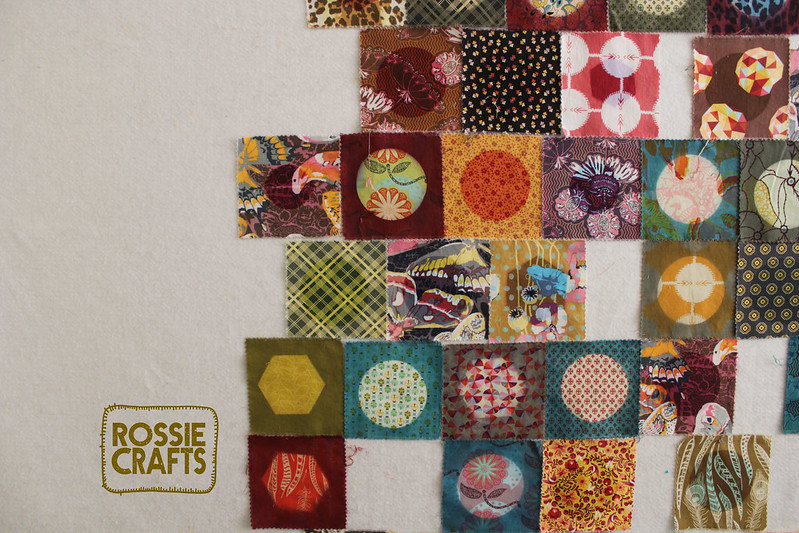 Especially this bird!
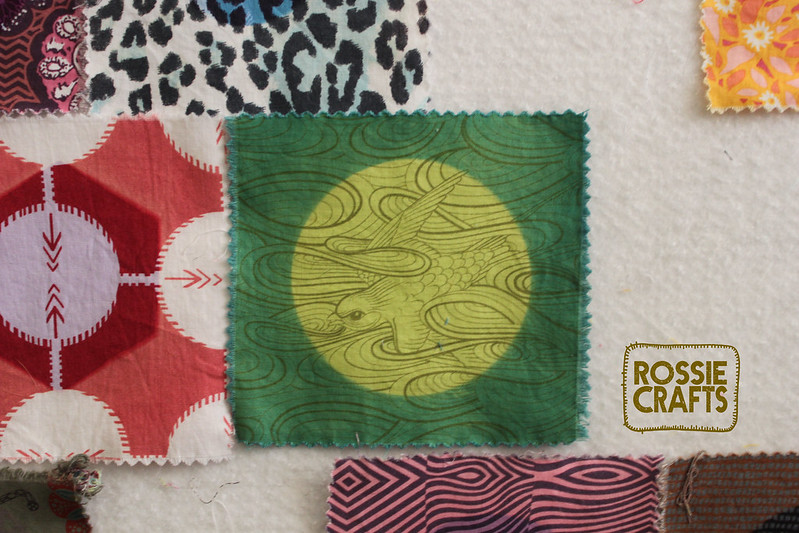
Fun, right?
These will all be sewn together to make a quilt for my cousin Kelly, who got married in October On the big day, I gave the couple a card with a sweet note and a post card for them to send back to me. The post card asks about what they might like. (I've done this before, you can see the results in this old post). When Kelly's card came back, it said:
I decided to make a throw-sized quilt for Kelly's brown, sage, and burnt orange living room.
When I saw them on sale, I snatched up some charm packs (in case you are wondering, it's Field Study 1 by Anna Maria Horner, Birds and the Bees from Tula Pink, and Denyse Schmidt's Chicopee.) The colors in these lines play so nicely together and I figure they will look good in Kelly's home.
Once I had my fabric, I got down to dyeing and bleaching!
This is a process called shibori itajime.
So cool, right?
Its an ancient process that I first saw on Malka Dubrawsky's blog and then learned some of the specifics from an article about her in Quilting Arts (December/January 2009).
As you can see, I've gone straight down the path that Malka laid out for me in her cover...circles in squares is pretty hard to beat!
Of course, I did make some changes. I've thrown in some solids and offset the squares.
Also, some of those circles aren't circles, they are hexagons!I
The hexagons are a new shape I'm selling in my shop.
I include complete instructions with every order of my plexiglass shapes. But it's pretty simple....
Step 1: Clamp
Step 2: Dye with fiber reactive dye (like these)
(you also need table salt and soda ash)
Step 3: Rinse
As an alternative you can...
Step 1: Clamp
Step 2: Bleach
Step 3: Stop the bleach. (with Anti-Chlor or Bleach Stop)
Step 4: Rinse
It's magic of the best kind.
It's fun to see what gets a strong result and what doesn't.
In this picture, I've sorted my unaltered fabrics so that the ones I plan to bleach are on the left and the ones I plan to dye on the right. Basically, I'm bleaching the dark ones and dyeing the light ones.
The bleach will pull a lot of color out of some fabric and hardly any out of others. In my experience, purple and blue tend not to bleach as easily, so for fabrics of medium value, I tend to bleach the red/browns and dye the blue/purples.
Dye is fun, too, as it can completely change the appearance of a familiar print as it layers a new color on top (I used three colors here: a dark gray, a berry red, and a teal blue).
You'll notice that the edges of the charms are frayed from all handling. I plan on using a larger seam allowance to compensate and make sure my quilt will be up for a rough-and-tumble New York lifestyle.
