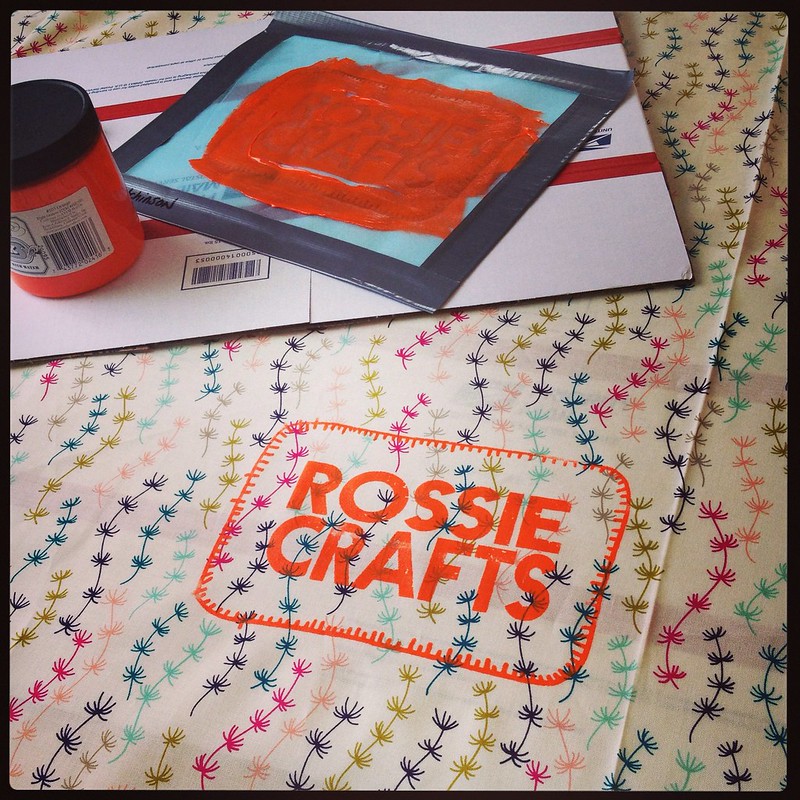
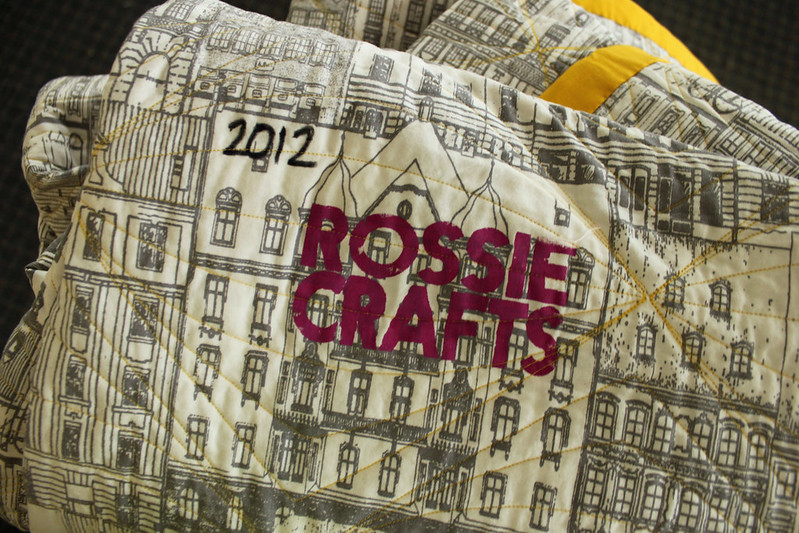
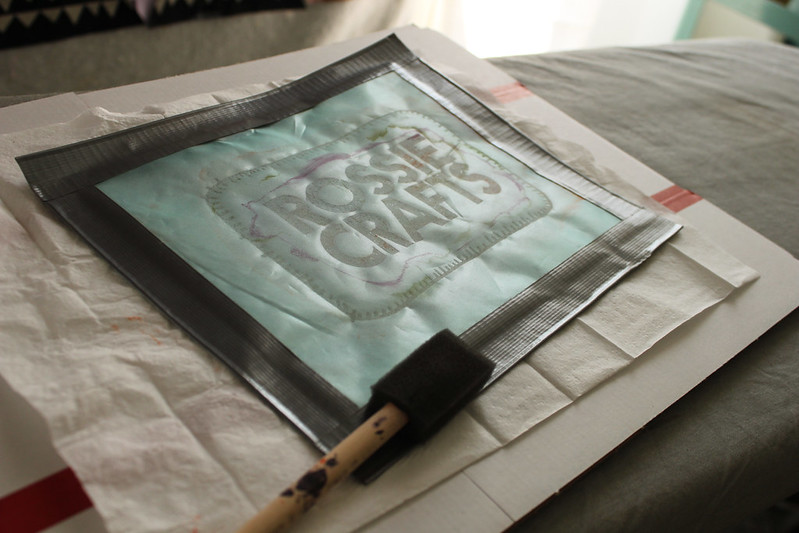
I posted this picture (below) on Instagram the other day. It seemed to spark a lot of interest, so I thought I'd take a moment to talk about my screen-printed quilt labels.
Why Screenprint a Quilt Label
There are a lot of ways to label a quilt, from embroidery to fabric markers. I've been labelling my quilts by screenprinting my logo since 2012.
Because of the way my logo looks, I can print it with either just the words (as above), or including the stitchy border (as below) simply by limiting where I push paint. I like that flexibility. I usually also write the year on the quilt with fabric marker as I find that information useful.
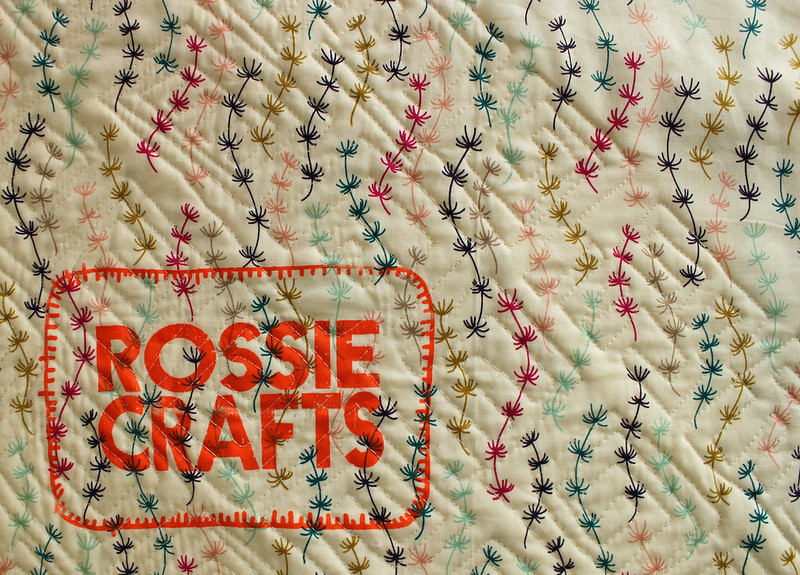
Conventional wisdom suggests that a quilt should be labelled with it's name, the quilter's name, and the date. In addition, including some information about why the quilt was made (perhaps who it was a gift for and what the gift was recognizing?) is recommended. This is so that if the quilt travels around for a bit, the history won't be lost. With that information, an appraiser or quilt historian could figure out the when/what/who/how/why of the quilt simply by reading the label.
Of course, conventional wisdom predates blogs and google. I feel just fine putting my business name and a year on the quilts because from there, assuming the Internet still exists, it would be dead easy for anyone to find my blog and the quilt on my blog. Also, I use my business name because it has a nice logo. Part of the reason I picked the name "Rossie Crafts" is because Rossie and Crafts have the same number of letters, which makes for all kinds of visual appeal. You could figure out my last name and that I made the quilt very easily from my blog.
I also like having the quilt label be part of the quilt itself, behind the quilting stitches. An appliqued-on label can be picked off. When quilts go out to magazines and shows and the like, and there's always a *small* danger of them being stolen. Having a label that can't be removed might deter theft.
Speaking of shows: they all have rules for what information needs to be on a quilt label. However, I find that shows and publishers requirements for labels vary. They usually want your name and the quilt name, but some also ask for your address and/or phone number. If more information needs to be added to the back of one of my quilts, I just write it on an extra bit of fabric with a marker and then applique the fabric to the back of the quilt. I don't really consider this an "extra step" because the requirements vary so much that it would be hard to have an all-purpose label to satisfy all the publishers and shows.
How To Screen Print a Label
Well, all you need are your screen, some paint, and a foam brush.
My screen is from
Smudged Textiles Shop on etsy (I know Lynn from a now-defunct quilt guild). You can just make an image of what you want on your screen and send it to her (well, she does have some directions as far as pixels per inch, but it's pretty easy to deal with). If Lynn's shop isn't open (she's busy
being a famous author these days) Basically, anyone making
thermofax screens with
good reviews should be able to make what you need!
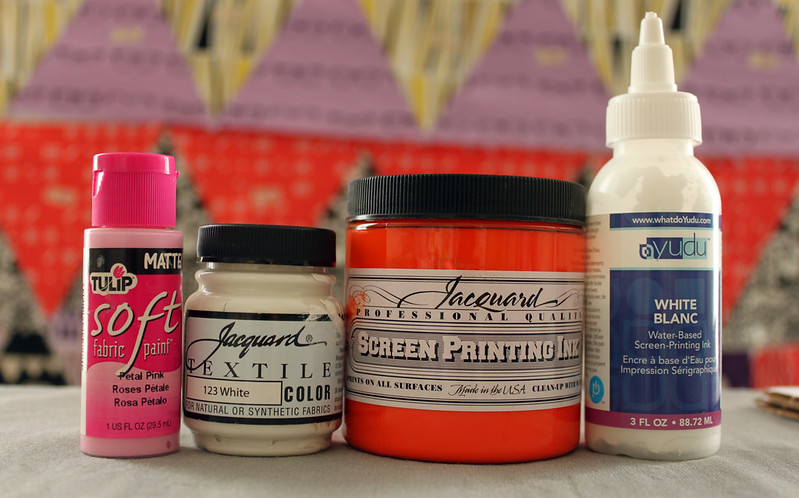
I'm not picky about what fabric paint I use because everything I've used has worked just fine for me. You can find the brushes and paint at crafts shops like Michaels or Joanns, as well as art supply shops like Dick Blick or Utrecht or Dharma Trading Co.
Here's my super-short video where I screenprint the logo onto a bit of fabric:
For a more comprehensive view of using these screens, check out FibraArtysta/
Smudged Textiles Shop two-part YouTube tutorial:
Basic Screen Printing Using Thermofax Screens part one and
part two.
Bonus tips
- I would recommend doing some trial runs before printing on your quilt back. Or maybe do it on the fabric before you piece your back. That way, you aren't in a panic if it prints funny; you just try again!
- Be careful that you aren't getting the paint where you don't want it because it's NOT going to come out of whatever you get it on. I always make sure my work area is clear, and I wash the screen and brush immediately (rinse with warm water, rub them a bit). And then I very carefully wash my hands and examine them for stray smudges of paint.
- The printed fabric should be left to air dry and, once it is dry, ironed to set the paint. Easy peasy.
Originally published: 2013 | most recent update: 2021