Last weekend I taught a new class for the first time: intermediate improv. In this class, I go over my favorite improv blocks as well as some general approaches to color and value, and methods for combining odd-sized improv blocks into a quilt top. While I taught four blocks, I had sample quilts for only two of those blocks, relying on pictures for the other two.
I decided that next time I teach this class, I want an additional sample, so I've been making a twin-size quilt out of quartered log cabin blocks.
These blocks are very simple to construct (it's a cut up log cabin) and you can find numerous tutorials for this block out there (like
here and
here).
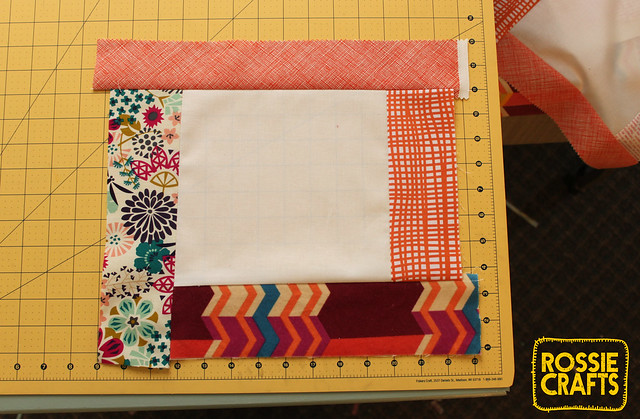
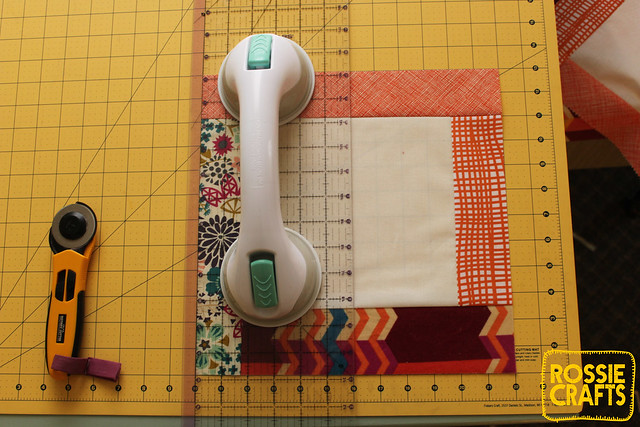
I'm making them with 8" white centers and 3"scrappy strips on the edges, then cutting them into 6" quarter-blocks, as in the pictures below (if the pictures don't make the process clear, read one of the tutorials linked
above.)
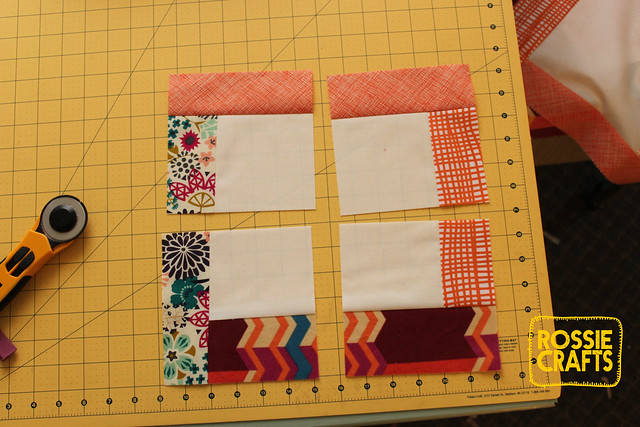
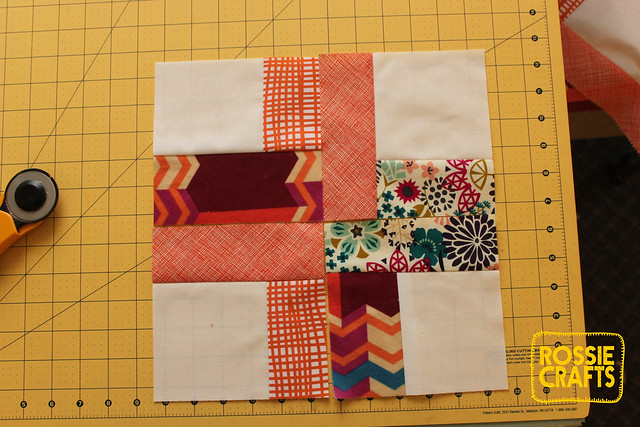
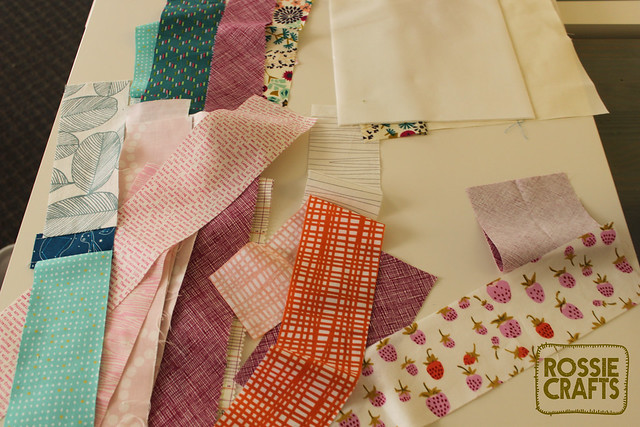
The real reason I wanted to post today was to record what I have been doing with the colors in my quilt. The bulk of the prints being used in this quilt are scraps or fat eigths (there is actual yardage of a few prints in there, which does help with the continuity in the quilt, I think). I have a decent-sized pile of scraps and fat eigths to pull from, so I am able to make color stories from them. In this case a citrene/magenta/blue thing is going on, with touches of teal and gray and orange, but basically, this quilt is kind of a jumble and some of these fabrics need to be seperated in order to keep the peace.
My dilemma was this: on the one hand, I want to keep certain colors away from each other. On the other hand, I don't want to proceed as slowly as would need to be the case if I was auditioning each fabric's placement (I know quilter's who audition each scrap's placement and I don't know where they find the patience!)
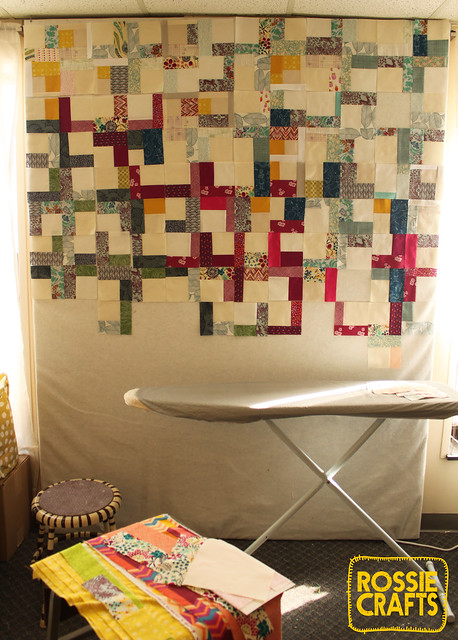
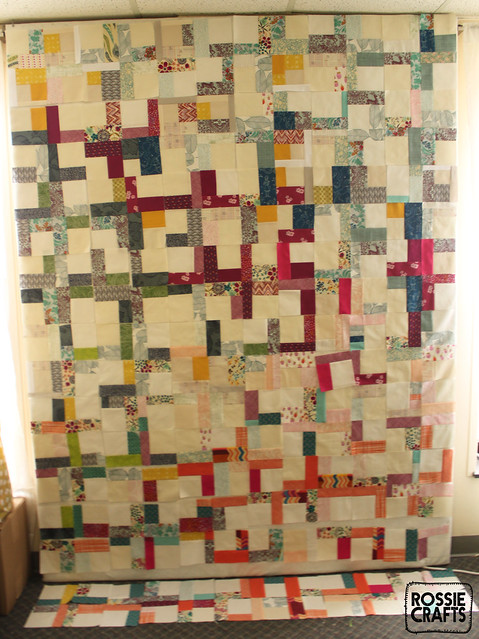
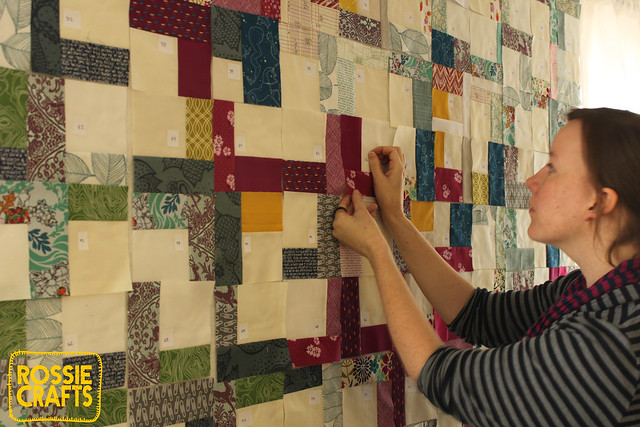
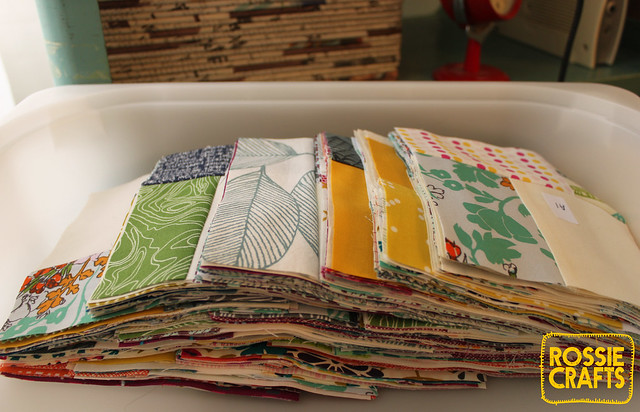
Here's what I've been doing: I have arranged the prints into groups that play well together. And I making five or six log cabins using each pile (which get cut down into 20-24 blocks). The blocks are being placed on the design wall as I finish them, with them going up in "blobs" of color.
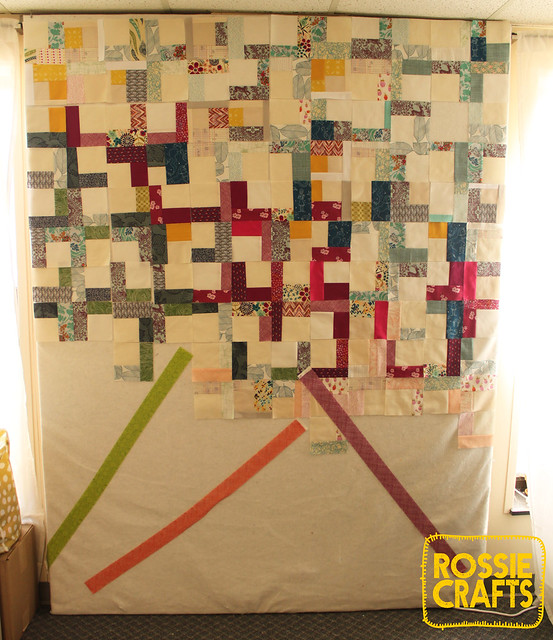
In the picture above, you can see the diagonal swath of magenta/cerise. Above it is one type of blue (with coordinating prints) and below it a second type of blue (with coordinating prints). I've slapped some strips from a jelly roll up to note where future color blobs should be placed.
These blocks go together really quickly! And if you make a variety of blocks in each blob, there are fairly easy to place on the design wall without having too many occurrences of the same fabric touching the same fabric.
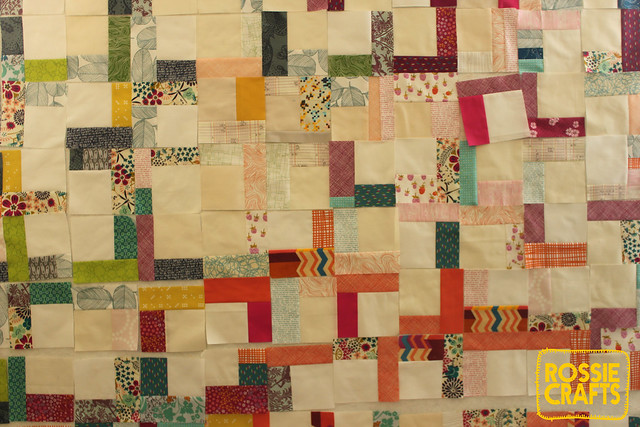
Perfection in non-fabric-touching isn't a goal of mine. And while many blocks are placed so that they suggest a "plus" sign, there are a lot of blocks that are turned other ways.
There are also some blocks that came out small and had to be added to...I love those little additions and sillinesses--to me, that's what makes a quilt sing.
I finished making my blocks yesterday and this morning came in and labelled each block with it's placement (a1, a2, a3, a4...) so that I could pack them up and take them with me on my Thanksgiving travels.
The light was low, so I had to get out my tripod for the pictures, so I decided to set a timer and catch myself at work for you...kinda funny, but I think it gives a sense of the scale of the quilt.
And away we go!
Update:
see the completed quilt top here: Quartered Log Cabin (completed top)
see a second version of this quilt here: Emerald Quartered Log Cabin (completed quilt)