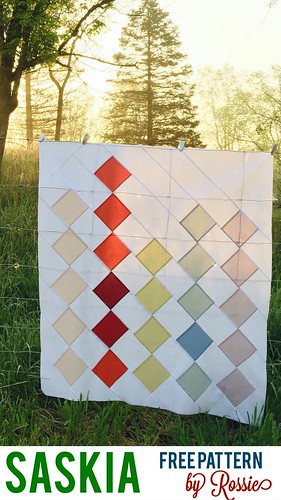
Saskia from Scandinavia (a quilt and free quilt pattern)

- keep it simple
- bring in the light
- use a lot of white
- sprinkle in a bit of bright.

(photo by Lynne of Lily's Quilts)
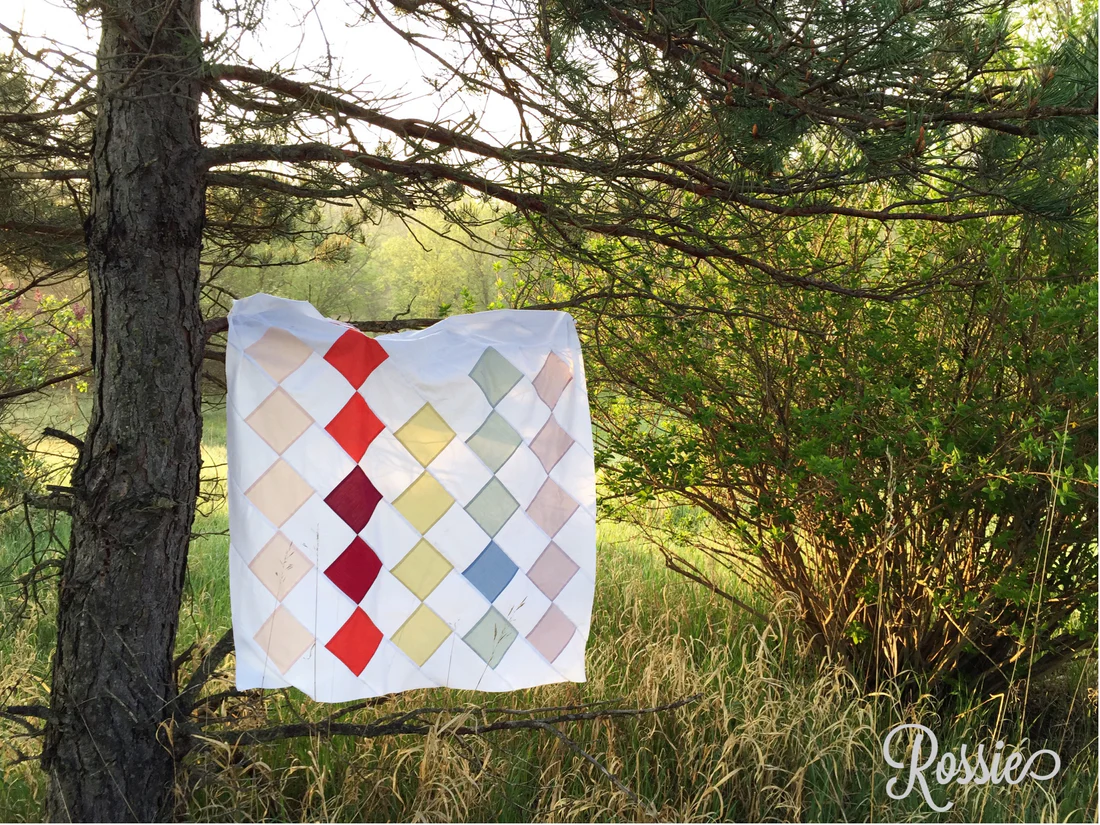
When I saw the "Scandinavian" palette of Oakshott fabrics, it was the middle of winter and I was really taken with the lovely, natural pastels. They are heavenly and mood-lifting. My soul reached out for them.
I was so pleased to be able to play with them for Oakshott's blog hop. They sent me the Scandinavia fabrics and a few other choices. I kept with the Scandinavian theme by mixing in a big helping of white fabric, and a bit of bright red. Here's what I made:

|
COLOR
|
FABRIC
|
TO BUY
|
5x5
|
6x5
|
9x5
|
12x5
|
16x5
|
20x5
|
17x17 square
|
|
PINK
|
Scandinavia 03 Tromso
|
fat quarter
|
5
|
||||||
|
RED
|
Ruby Red 08 Corunna
|
fat quarter
|
4
|
||||||
|
GRELLOW
|
Scandinavia 04 Helsinki
|
fat quarter
|
4
|
||||||
|
BLUE
|
Scandinavia 05 Malmo
|
fat quarter
|
4
|
||||||
|
PURPLE
|
Scandinavia 06 Oslo
|
fat quarter
|
5
|
||||||
|
WHITE
|
Scandinavia
01 Bergen
|
1-3/4 yards
|
15
|
11
|
4
|
3
|
1
|
1
|
|
|
Blue and Red variations
|
Colourshott 5" Sample Swatch Pack Colours 01-30
|
Charm pack
|
Consider ordering binding and backing fabric at the same time!

INSTRUCTIONS:
1. Cut fabric following the table above.
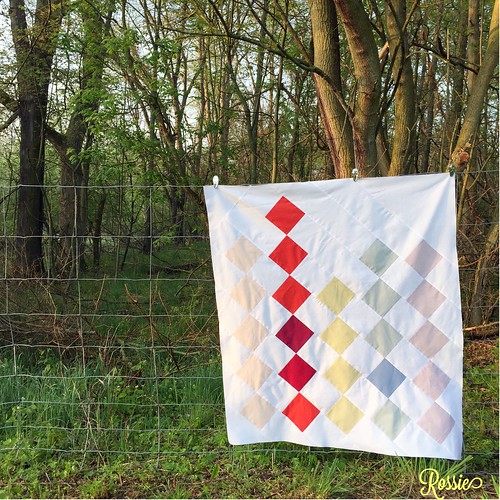
2. Lay fabric out following diagram below. The diagram is a bit misleading as it shows the white and colored patches as the same size. In fact, the white are wider. Please consult the photograph of my quilt. The colors should touch points.

3. Assemble rows.
4. Press the rows. Press the seams to the darker side.
5. Combine rows. They are of different lengths, and should not be lined up at the ends. Line them up by having the colors touch points (just at the top and bottom) as in the photograph of my quilt.
6. Add half-square triangles to their corners.
7. Trim off the excess around the edges of the quilt as in the graphic below. I used my ruler to cut the white 2" off the edges of the colored squares all the way around.
 And you're done!
Please make and share this quilt.
For more inspiration, check out the other posts in this blog hop. There are eight projects from eight designers using Oakshott Scandinavia. All the hops are listed out below, please check them out!
And you're done!
Please make and share this quilt.
For more inspiration, check out the other posts in this blog hop. There are eight projects from eight designers using Oakshott Scandinavia. All the hops are listed out below, please check them out!
4 May - Sarah Sharp (um....this quilt is AMAZING....go look!)
5 May - Heather Scrimnscher
6 May - Amy Sinibaldi
7 May - Rossie Hutchinson (you are here!)
11 May - Elaine Poplin
12 May - Sarah Fielke
13 May - Nicholas Ball
14 May - Lori Landerberger