When a problem comes along, you must WIP it!
I’ve got a fun new addition to my sewing room…
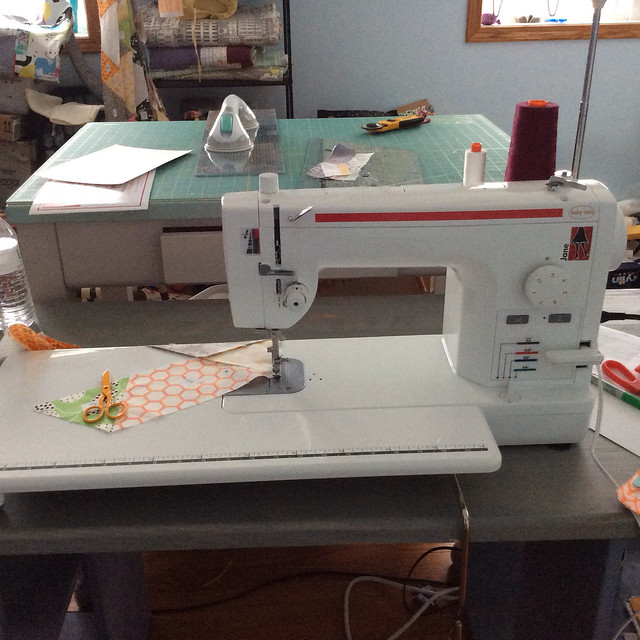
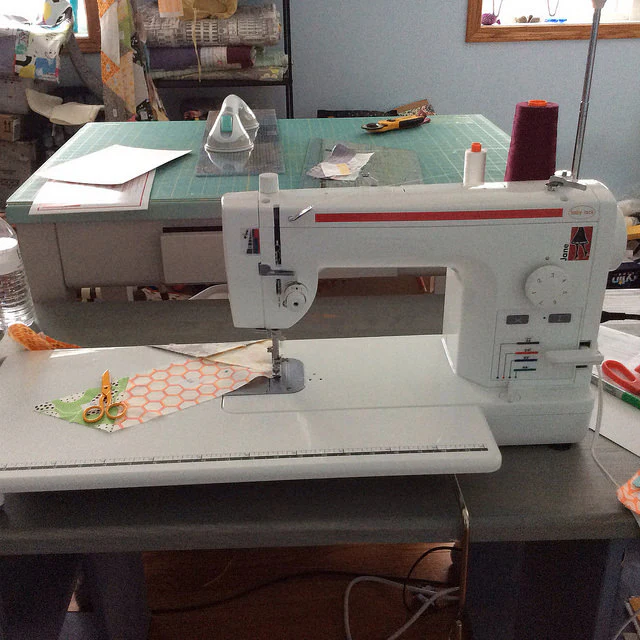
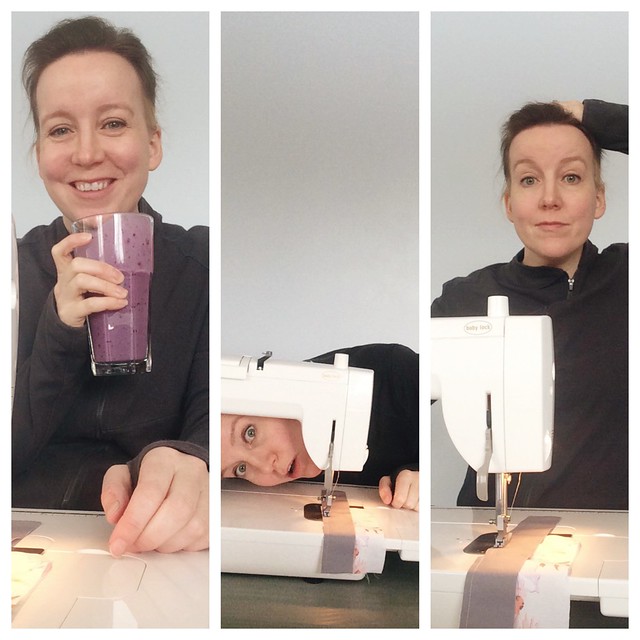
…it’s a BabyLock Jane. This high-speed, straight-stitch machine is on loan to me from Baby Lock while I prepare for Quilt Con. You see, this machine will be in the classroom I’m teaching in on Sunday. Here's a photo I took of myself with it...we're doing introductions over on Instagram, hop on and check out #helloquiltcon if you can.
I’m loving it and having fun exploring its features. As I made room for it in my sewing room, I felt a bit frustrated by how hard it was to make space for—this isn’t the machine’s fault, it is mine! I’m a bit overwhelmed with the amount of projects and stuff I have piled up all over in my room. I just didn’t organize the space very well when we moved in…I thought it was going to be more temporary than it is has turned out to be. What with studio renovations being paused until spring.
I have too many works in progress (WIPs) given this space. This realization, paired with a new machine seemed like an opportunity to finish up some works in progress. You know, just power through a bunch of sewing and learn about the machine as I go!
As a result: I’m starting a new plan, a plan I call “you must WIP it.” Or, for those on instagram, #youmustwipit
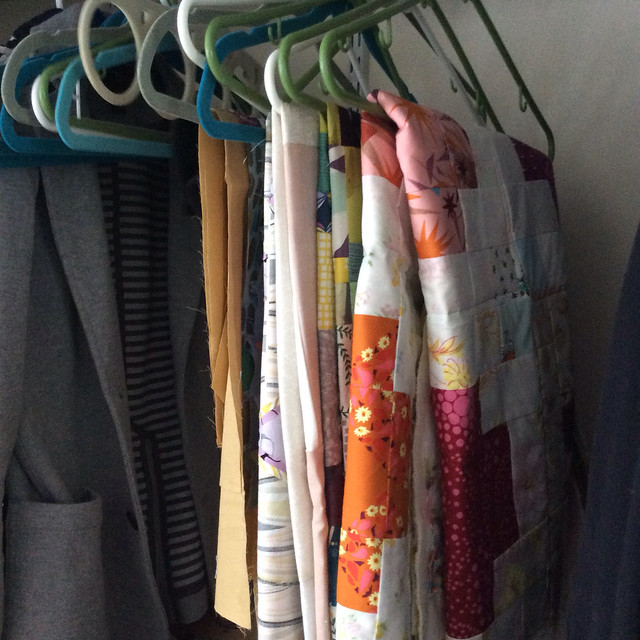
First step was to folded up my finished quilt tops and put them in my clothing closet. I’m going to tackle quilting them in phase two and want them out of the sewing room for now.
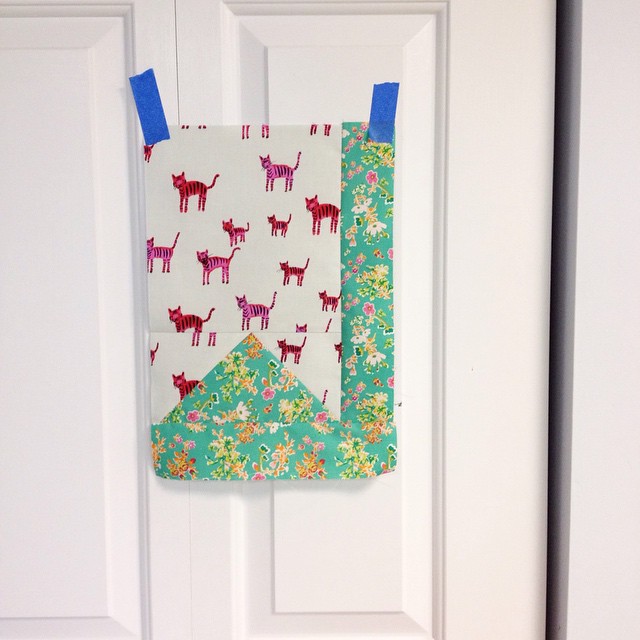
Phase one of “you must WIP it” is going to be turning my partially-pieced quilt tops into finished quilt tops. Maybe not all of them, but a fair chunk. I've got a lot of quilts where the blocks are done or almost done and they just need to be assembled.
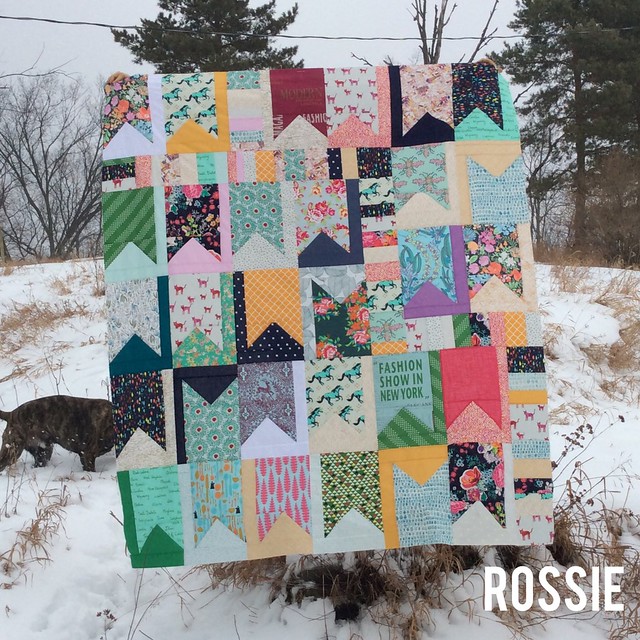
I began with this flag quilt:
I started this quilt last fall at a retreat.
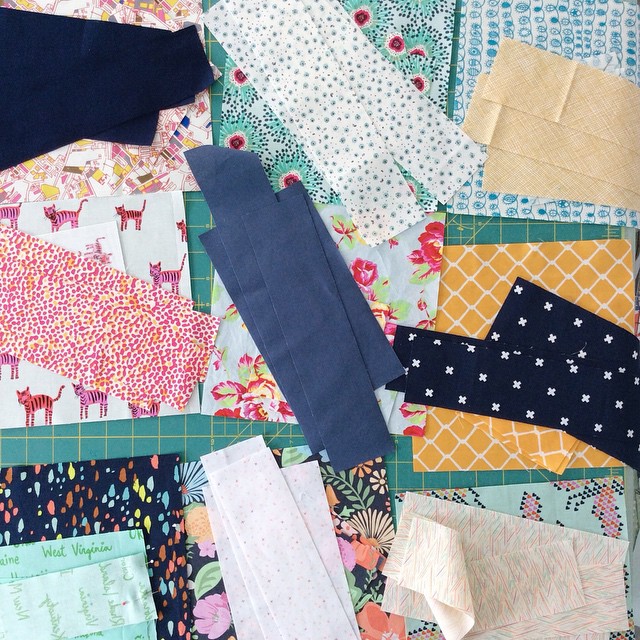
I came home with seventeen blocks. This picture shows the seventeen blocks arranged on the back of another quilt. I like the size of the quilt they are on and was using it to see how many more blocks I needed..thirteen more. Not a big deal!

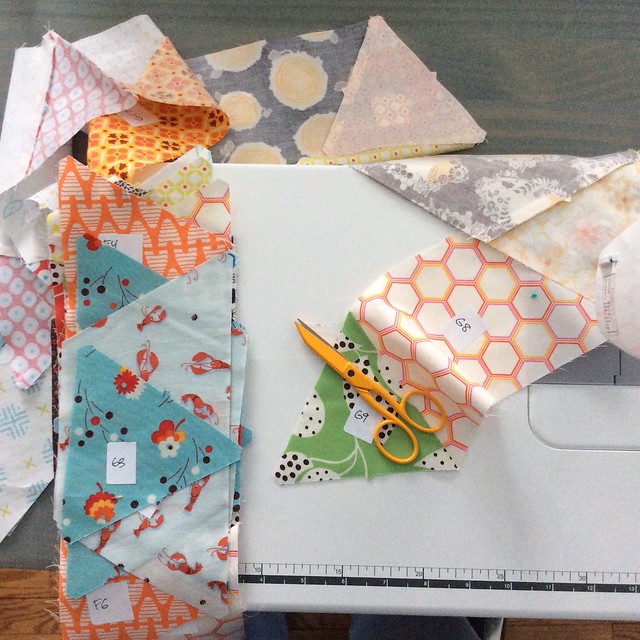
On Saturday, I cut out the pieces for those flags and began sewing.
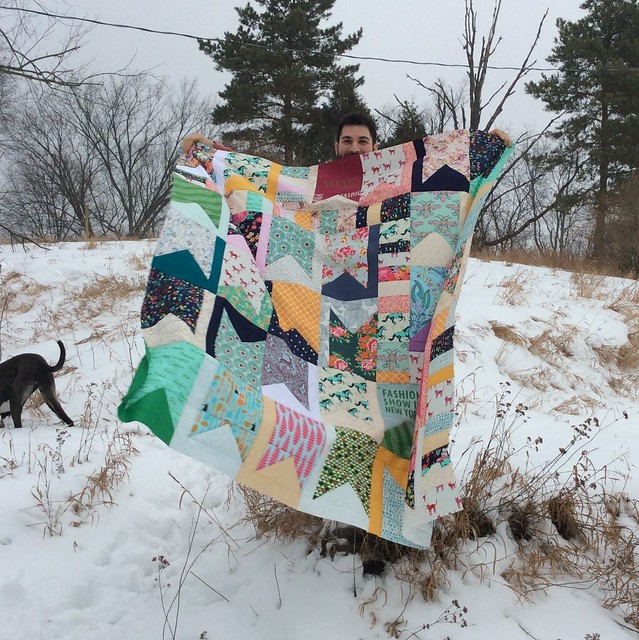
On Sunday, I finished the piecing the flags and then looking at it on my design wall, decided to add some strips of coins to mix-up and off-set the flags a bit. The coins are 5.5" wide (or 5.5" tall when going in the rows.
I finished just before the day ended and the light left the sky; Jon and the dogs and I ran out and snapped some pictures.
Another one for the closet!
See you in #youmustwipit phase two, sweet flag quilt!
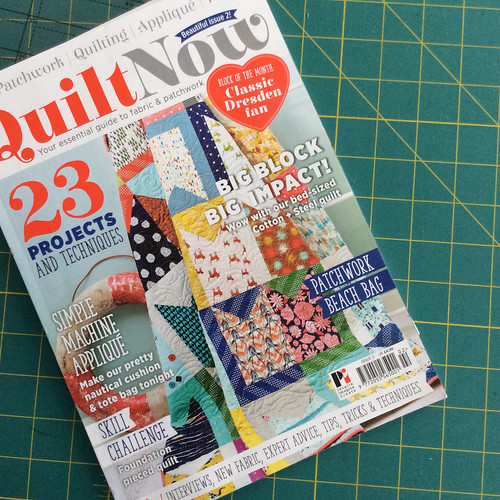
If you’re interested in this pattern, check out Vol. 2 of Quilt Now. I believe you can now buy digital copies of this magazine! I used a mix of fabrics, but there’s a fair amount of Cotton + Steel 2014 and Priory Square in there.
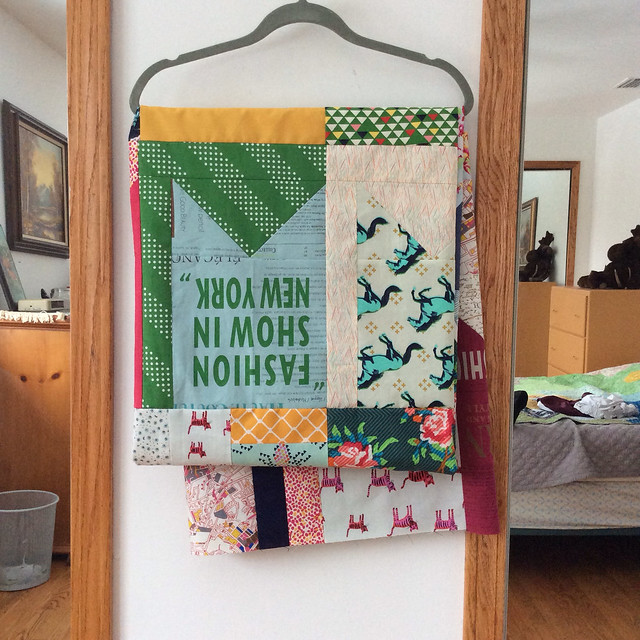
I’ve already moved on to assembling my Disco Quilt (from a pattern by Jaybird Quilts). Unfortunately, these are columns F-L, and I’m not sure where columns A-E are! Oh well, this whole thing is an meant to clean up my studio while getting a lot of use out of the machine. Looks like I'll need to clean a bit more to find the rest of this WIP!
A few notes on the machine so far:
I'll keep reporting back on the machine as I go and eventually do a complete post on it, but I wanted to record my early thoughts.
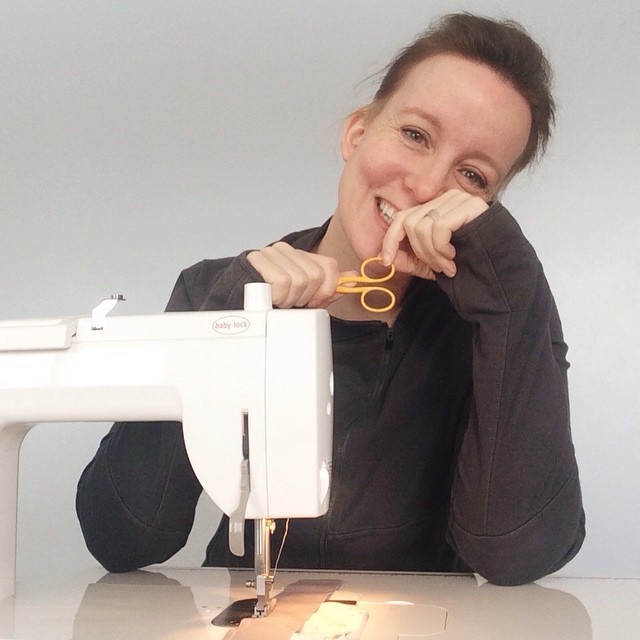
Thank for reading this far...your prize is selfie out-takes!
**I think this is clear from the post, but just to be triply sure, the Baby Lock machine is on loan from the manufacturer and I have a professional affiliation with them. That being said, all opinions are my own and are genuine. As always, you can check my affiliations on that page of my blog.
…it’s a BabyLock Jane. This high-speed, straight-stitch machine is on loan to me from Baby Lock while I prepare for Quilt Con. You see, this machine will be in the classroom I’m teaching in on Sunday. Here's a photo I took of myself with it...we're doing introductions over on Instagram, hop on and check out #helloquiltcon if you can.
I’m loving it and having fun exploring its features. As I made room for it in my sewing room, I felt a bit frustrated by how hard it was to make space for—this isn’t the machine’s fault, it is mine! I’m a bit overwhelmed with the amount of projects and stuff I have piled up all over in my room. I just didn’t organize the space very well when we moved in…I thought it was going to be more temporary than it is has turned out to be. What with studio renovations being paused until spring.
I have too many works in progress (WIPs) given this space. This realization, paired with a new machine seemed like an opportunity to finish up some works in progress. You know, just power through a bunch of sewing and learn about the machine as I go!
As a result: I’m starting a new plan, a plan I call “you must WIP it.” Or, for those on instagram, #youmustwipit
First step was to folded up my finished quilt tops and put them in my clothing closet. I’m going to tackle quilting them in phase two and want them out of the sewing room for now.
Phase one of “you must WIP it” is going to be turning my partially-pieced quilt tops into finished quilt tops. Maybe not all of them, but a fair chunk. I've got a lot of quilts where the blocks are done or almost done and they just need to be assembled.
I began with this flag quilt:
I started this quilt last fall at a retreat.
I came home with seventeen blocks. This picture shows the seventeen blocks arranged on the back of another quilt. I like the size of the quilt they are on and was using it to see how many more blocks I needed..thirteen more. Not a big deal!
On Saturday, I cut out the pieces for those flags and began sewing.
On Sunday, I finished the piecing the flags and then looking at it on my design wall, decided to add some strips of coins to mix-up and off-set the flags a bit. The coins are 5.5" wide (or 5.5" tall when going in the rows.
I finished just before the day ended and the light left the sky; Jon and the dogs and I ran out and snapped some pictures.
Another one for the closet!
See you in #youmustwipit phase two, sweet flag quilt!
If you’re interested in this pattern, check out Vol. 2 of Quilt Now. I believe you can now buy digital copies of this magazine! I used a mix of fabrics, but there’s a fair amount of Cotton + Steel 2014 and Priory Square in there.
I’ve already moved on to assembling my Disco Quilt (from a pattern by Jaybird Quilts). Unfortunately, these are columns F-L, and I’m not sure where columns A-E are! Oh well, this whole thing is an meant to clean up my studio while getting a lot of use out of the machine. Looks like I'll need to clean a bit more to find the rest of this WIP!
A few notes on the machine so far:
- I love the extension table. It seems to make it easier to feed in big pieces accurately.
- I love the noise the machine makes (soft mechanical hum)
- The ¼” plate marking is really useful to me while I’m doing some precision work. I plan on trying the ¼-foot soon.
- Because the machine is straight-stitch only, it has just a little opening for the needle to go down to the bobbin and this is amazing! The stitches don’t wander off at the end of seams…they are supported throughout and stay straight and wonderful.
- I’m loving the needle-down function!
- The thread trimmer isn’t working well for me…I seem to end up re-threading the needle every time I use it.
- The automatic needle threader is pretty rad! I've never had one before. It's still a bit of work to thread the needle, but I have 100% success on my first try!
I'll keep reporting back on the machine as I go and eventually do a complete post on it, but I wanted to record my early thoughts.
Thank for reading this far...your prize is selfie out-takes!
**I think this is clear from the post, but just to be triply sure, the Baby Lock machine is on loan from the manufacturer and I have a professional affiliation with them. That being said, all opinions are my own and are genuine. As always, you can check my affiliations on that page of my blog.