Making Bean Bags
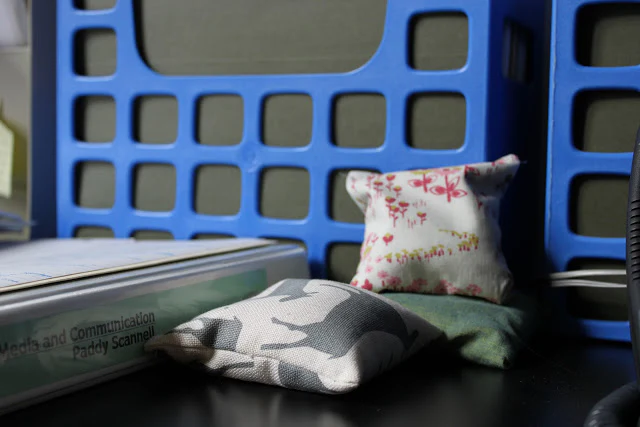
Almost everyone who comes into my office asks about my little pile of bean bags.
 These little beauties are an essential piece of my ability to stay organized.
Since my job requires me to tackle several large projects at once, working on each one separately and incrementally, I often have about six piles of papers and books going. When I put a bean bag on top of a pile, it is like putting a lid on the project for the time being. And having the bean bag on top of the pile stops me from adding random things (the mail, things from other projects, etc) to the stack. Sometimes I add a post-it note next to the bean bag to remind myself what comes next in the project. I almost always move the stack to an open piece of shelf so that I can have a clean desk, which helps me to focus.
These little beauties are an essential piece of my ability to stay organized.
Since my job requires me to tackle several large projects at once, working on each one separately and incrementally, I often have about six piles of papers and books going. When I put a bean bag on top of a pile, it is like putting a lid on the project for the time being. And having the bean bag on top of the pile stops me from adding random things (the mail, things from other projects, etc) to the stack. Sometimes I add a post-it note next to the bean bag to remind myself what comes next in the project. I almost always move the stack to an open piece of shelf so that I can have a clean desk, which helps me to focus.
 Want to make some? Here's how I do it:
1. Round up some scraps of fabric.
2. Iron the fabric. with bigger scraps, fold them in half length-wise, right-sides together, and press the fold. with smaller scraps, pair them up and pin the right-sides together.
3. Trim the fabrics down to something rectangular. If you are using lighter weight fabrics (voile, some chambrays) you may want to double-up the fabric or cut a piece of muslin to the same size to use as a liner. If you wanted to use the bean bags in a "toss" game or let a shild play with them, I would definitely double-up the fabric.
4. Sew around the edges of the fabric as in the picture below, taking extra care with the corners and leaving a 1" opening.
Want to make some? Here's how I do it:
1. Round up some scraps of fabric.
2. Iron the fabric. with bigger scraps, fold them in half length-wise, right-sides together, and press the fold. with smaller scraps, pair them up and pin the right-sides together.
3. Trim the fabrics down to something rectangular. If you are using lighter weight fabrics (voile, some chambrays) you may want to double-up the fabric or cut a piece of muslin to the same size to use as a liner. If you wanted to use the bean bags in a "toss" game or let a shild play with them, I would definitely double-up the fabric.
4. Sew around the edges of the fabric as in the picture below, taking extra care with the corners and leaving a 1" opening.
 5. Press the seam on the side with the opening open. This will help you get a neat edge in step 8.
6. Turn the bags right-side out, gently push out the corners (I use a pointy chopstick).
7. Fill with dry bean or rice.
8. Hand-stitch the bean bag closed.
9. Enjoy!
5. Press the seam on the side with the opening open. This will help you get a neat edge in step 8.
6. Turn the bags right-side out, gently push out the corners (I use a pointy chopstick).
7. Fill with dry bean or rice.
8. Hand-stitch the bean bag closed.
9. Enjoy!


