And miles to go before I sleep...under this quilt...
I like to forget how long it can take to go from finishing quilt blocks to finishing a quilt.

I guess this might take a particularly long time when you start from 100 blocks that are all different heights and widths and not squared up. : )
This is my process…
Step One: Square up the blocks
Step Two: Sort blocks by height
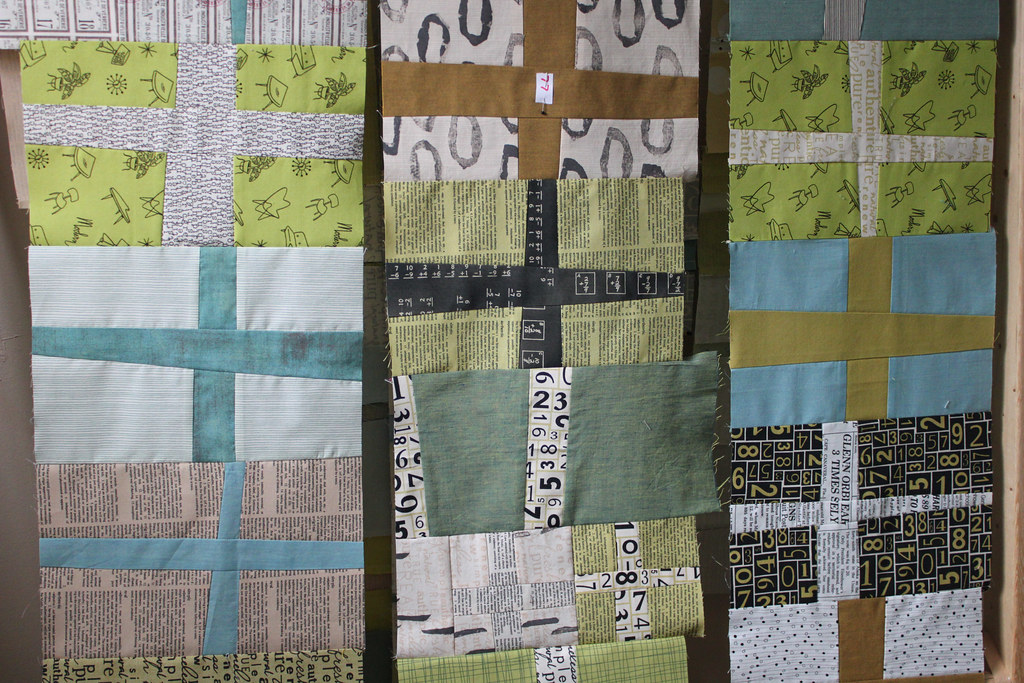
Step Three: Lay out blocks keeping blocks of approximately the same height in the rows together:
 Step Four: Label each block with its location in the overall quilt
( I like to use address labels on which I write 1-1 1-2 1-3)
 I always mark the end of the row with an extra symbol so that know when I'm done.
I pin the blocks in pairs as I pick them up.
I’m not a big pinner in general, but here it is useful to keep the pair together. Generally, I only put a few pins in each pair, all on the end where I want to start the seam.
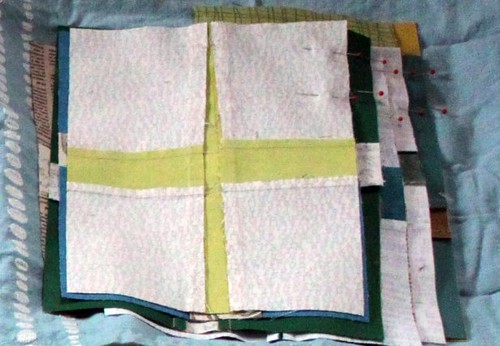
For each row, I decide whether I’m going to line up the bottom or the top of the blocks. Because the blocks are not identical heights, rows get squared up after they are joined and having either the top or bottom already straight makes this easier and less wasteful.
Step Five:
Sew and press and sew and press until the rows are complete.
Step Six:
Square up the rows.
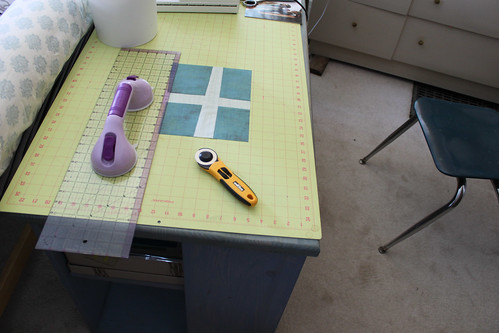
Here’s the best way that I have found to do this.
(a) start in the middle of the row. Line up a seam with the lines in the rotary cutting mat.
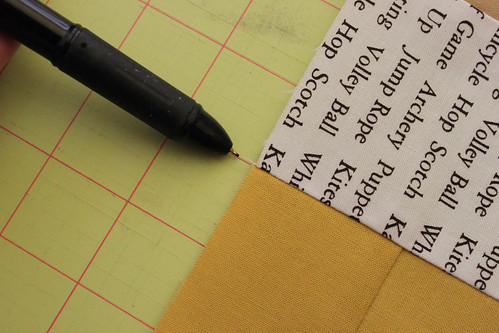
(b) check the top or bottom (whichever is supposed to already be square) to be sure that it is square. You need it to be square, so even if it is just 1/16” off somewhere, square the whole row again.
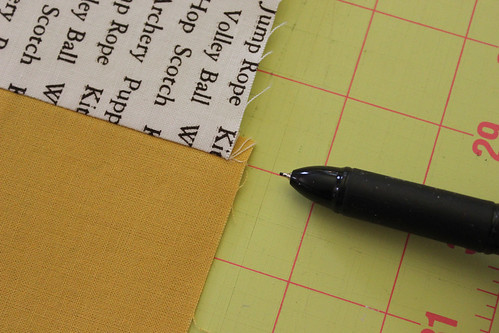
(c) With one side totally square, find the shortest block in the row. Start from that block and square up the row. Be precise.
Step Seven
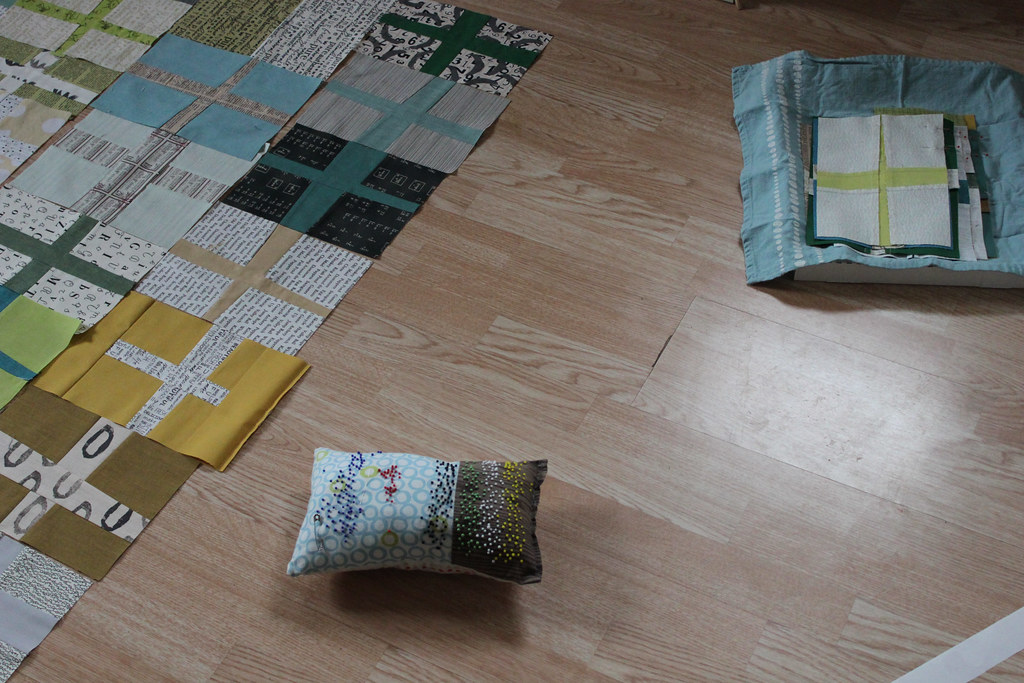
Once all of the rows are squared up, lay them out again. Check that you don’t need to make any rows wider…your quilt is going to be as wide as your narrowest row. Pick the rows up in pairs, deciding whether you are going to join them starting from the left or the right. Varying this will result in a more balanced final quilt. When deciding, I think about which blocks will get cut up and what is going to line up with what.
Join the first pairs of row, then lay the quilt out again. Again, decide whether you are going to join rows from the left or the right.
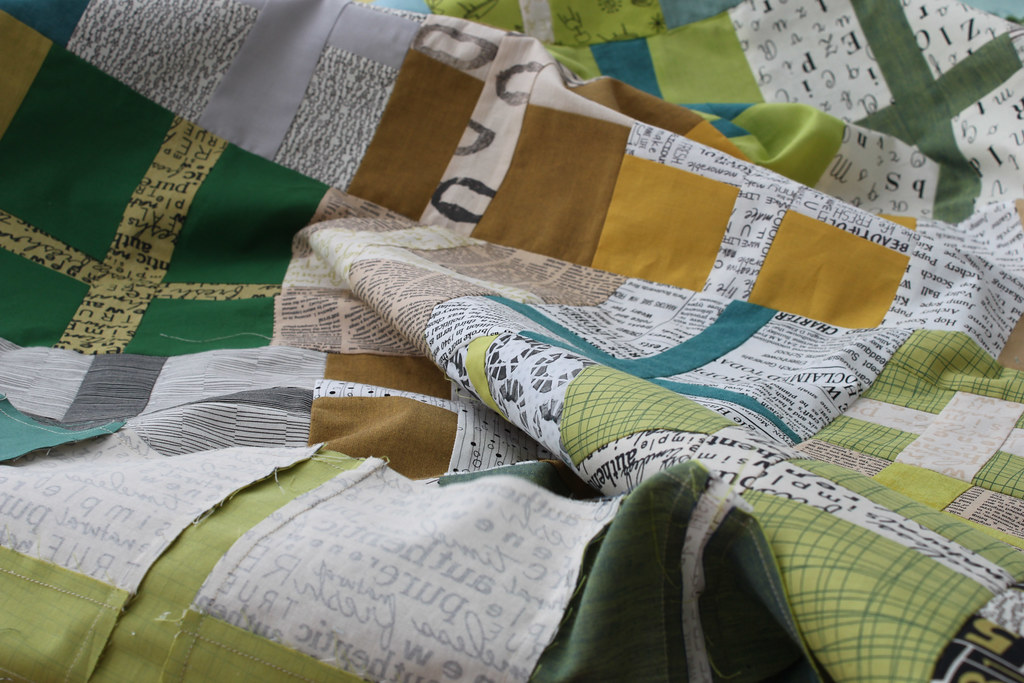
In this picture, you can see that some rows have been joined starting from the left and some from the right.
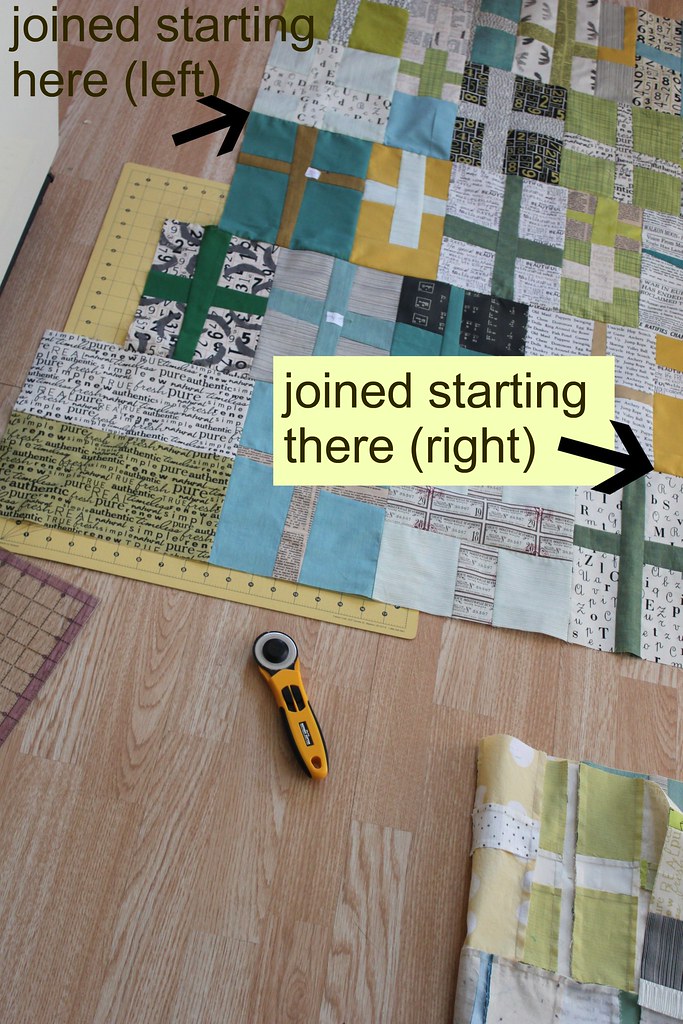 As you go through this, you can start cutting off extra width from the rows. I do this by sliding my rotary mat onto the floor under my quilt.
Step Eight
Realize you’re done. Wish it wasn’t raining so that you could take the quilt top out for a proper photograph.

I guess this might take a particularly long time when you start from 100 blocks that are all different heights and widths and not squared up. : )
This is my process…
Step One: Square up the blocks

Step Two: Sort blocks by height
Step Three: Lay out blocks keeping blocks of approximately the same height in the rows together:

( I like to use address labels on which I write 1-1 1-2 1-3)

I pin the blocks in pairs as I pick them up.

I’m not a big pinner in general, but here it is useful to keep the pair together. Generally, I only put a few pins in each pair, all on the end where I want to start the seam.

For each row, I decide whether I’m going to line up the bottom or the top of the blocks. Because the blocks are not identical heights, rows get squared up after they are joined and having either the top or bottom already straight makes this easier and less wasteful.
Step Five:
Sew and press and sew and press until the rows are complete.

Step Six:
Square up the rows.
Here’s the best way that I have found to do this.
(a) start in the middle of the row. Line up a seam with the lines in the rotary cutting mat.


(b) check the top or bottom (whichever is supposed to already be square) to be sure that it is square. You need it to be square, so even if it is just 1/16” off somewhere, square the whole row again.
(c) With one side totally square, find the shortest block in the row. Start from that block and square up the row. Be precise.
Step Seven
Once all of the rows are squared up, lay them out again. Check that you don’t need to make any rows wider…your quilt is going to be as wide as your narrowest row. Pick the rows up in pairs, deciding whether you are going to join them starting from the left or the right. Varying this will result in a more balanced final quilt. When deciding, I think about which blocks will get cut up and what is going to line up with what.
Join the first pairs of row, then lay the quilt out again. Again, decide whether you are going to join rows from the left or the right.
In this picture, you can see that some rows have been joined starting from the left and some from the right.

Step Eight
Realize you’re done. Wish it wasn’t raining so that you could take the quilt top out for a proper photograph.
